 or
or  buttons to zoom the map in/out one level.
Version 6.3.1
SmartView Connect (SVC) is Woolpert’s map hosting platform—an integrated system of processing, serving, and viewing capabilities. Using massively parallel processing, SVC creates imagery caches from large data sets and rapidly publishes them for viewing on the web. Our proprietary, high-performance techniques ensure fast map loads without sacrificing image quality.
SVC also provides a dynamic workflow engine which expedites the QA/QC review process. Users draw on the map to create annotated redline markups which are recorded for further action. These markups are deeply integrated into Woolpert's production process as part of our commitment to quality deliverables and services.
If you have a question that is not addressed in this guide, please contact the SmartView Connect team at help@woolpert.io.
Go to maps.woolpert.com and enter your Username or Email and Password. You can also click Enter as Guest to view some sample datasets.
After signing in, you will see the Open dialog, which lists all of the datasets available to your account.
If your account only has access to one dataset, SVC will automatically open it for you, skipping this dialog.
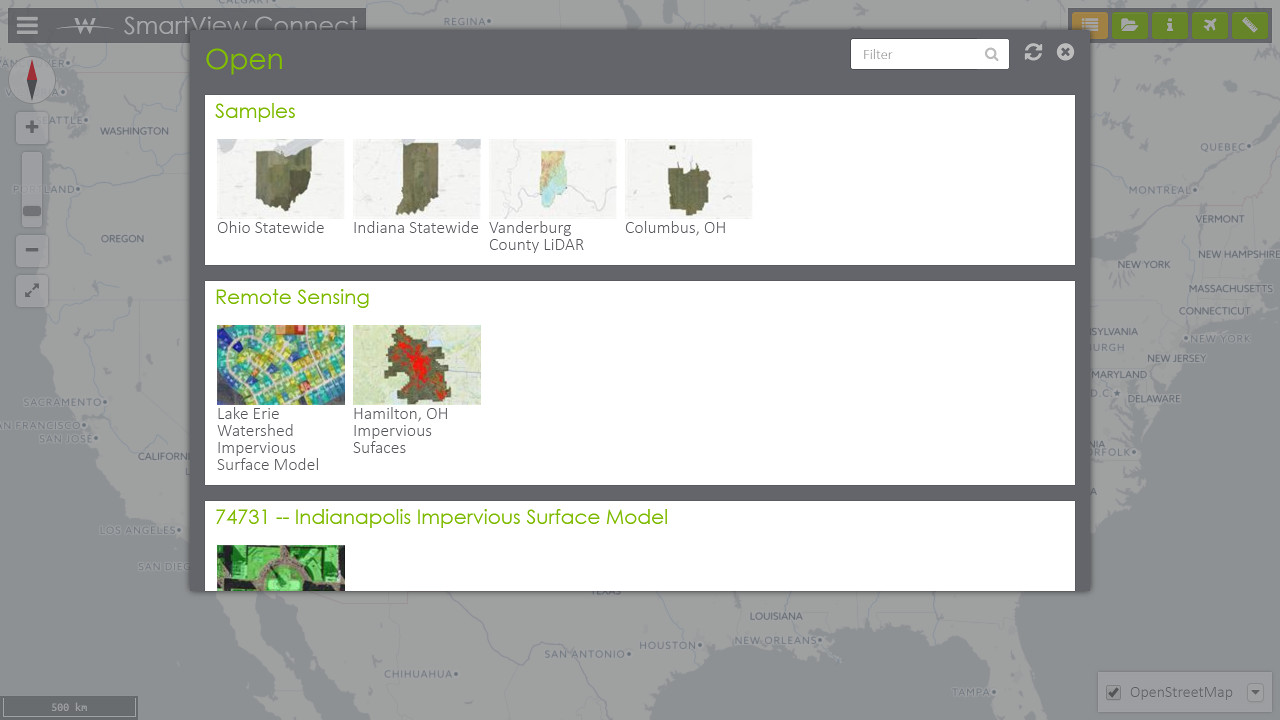
Click a tile to open the dataset.
Click the button in the upper-right to close the dialog.
Click the button in the upper-right to refresh the list.
Click the button to open the application menu.
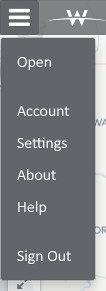
| Open | Return to the Open dialog to select another dataset. |
| Account | Change account info and your password. |
| Settings | Change various application settings. |
| About | Credits and copyright information. |
| Help | Open this guide. |
| Sign Out | End your session and return to the sign-in screen. |

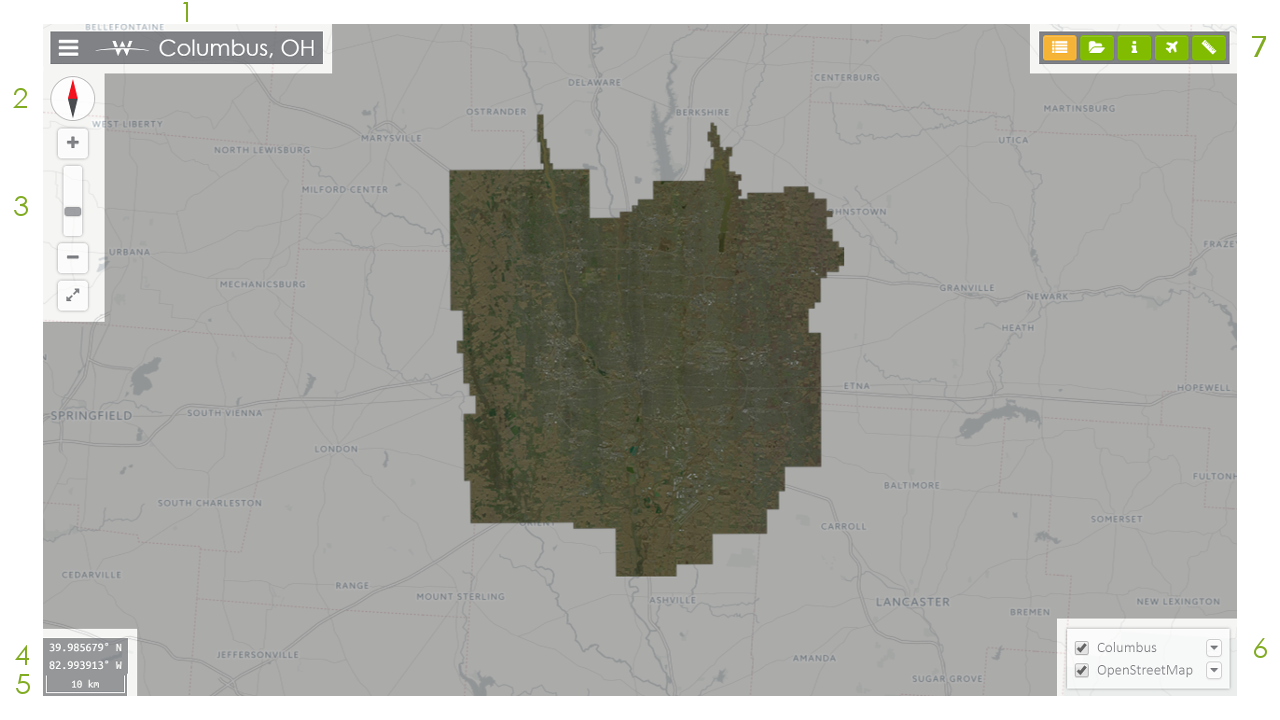
Click to rotate the map so that north is "up".
Click and drag to rotate the map freely.
Click the or buttons to zoom the map in/out one level.
Click the  button to zoom the map to its extent.
Drag the slider up and down to zoom the map.
Displays the latitude/longitude coordinates of the current mouse position, in decimal degrees.
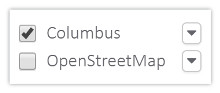
Double-click a layer name to zoom to its extent.
Click the to the left of a layer name to toggle its visibility.
Click the to the right of a layer name to access its menu.
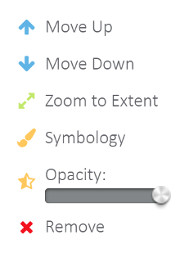
| Move Up/Down | Reorder layer by moving it 1 position up/down in the layer stack. | |
| Zoom to Extent | Zoom and pan the map to fit the layer's extent on screen. | |
| Symbology | Modify the style of vector features (vector layers only). | |
| Opacity | Drag the slider to adjust the layer's opacity. | |
| Remove | Remove the layer from the map. This cannot be undone. |
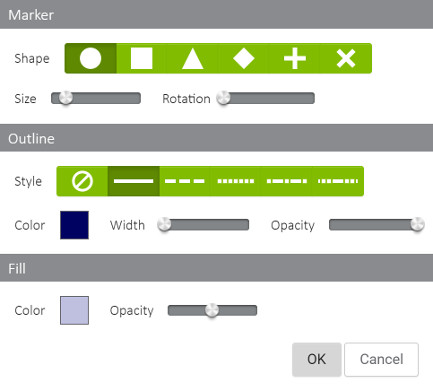
Change the symbology of vector features.

Shows/hides the Table of Contents.
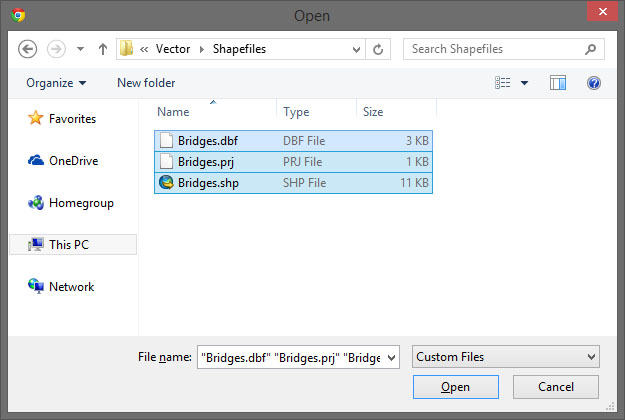
Load a local shapefile as a layer on the map. In the file browser, select the following files:
| .shp | Required | |
| .dbf | Optional | If omitted no attributes will be available. |
| .prj | Optional | If omitted geometries will be assumed to be in Web Mercator projection (EPSG:3857, Esri:102100). |
Once the layer is added to the map, its symbology can be changed in the Table of Contents.
All rendering and projection occur locally. We do not upload your data to any servers.
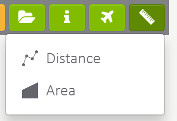
Select either Distance or Area from the menu.
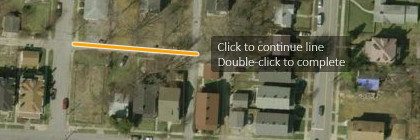
Single-click to place each vertex, double-click to complete the path.
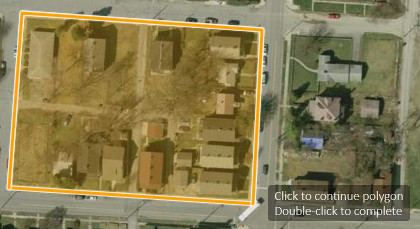
Single-click to place each corner, double-click to complete the polygon.
Click and drag within the map to pan.
Scroll up to zoom in. Scroll down to zoom out.
Double-click to zoom in one level and center at that location.
While holding the Shift key, click and drag to define a box. Release to zoom the box's extent.
Use the Left & Right arrow keys to pan west/east. Use the Home & End keys to do a large pan west/east.
Use the Up & Down arrows keys to pan north/south. Use the Page Up & Page Down keys to do a large pan north/south.
Use the + & - keys to zoom the map in/out one level (you do not need to hold Shift to use +).
Use the number keys to toggle the corresponding layer on/off (i.e. 1 toggles the base layer, 2 toggles the second, etc.)
The SVC workflow engine defines a system for creating redline markups and subsequent feedback and actions. Your account is assigned a role, and based on that role you have rights to create markups and/or to perform certain actions.
If your account has access to the markup tool, you will see a button in the toolbar.
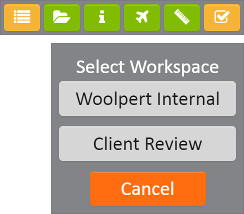
Markups are stored in workspaces. Your account may have access to one or more workspaces. Select a workspace from the list in the upper right.
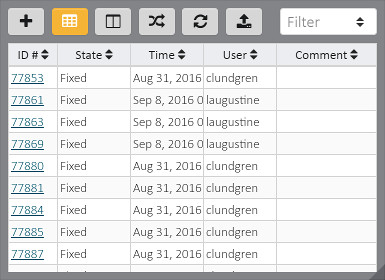
This is the main interface for working with markups. Move the widget around the screen by clicking and dragging within the empty space of the toolbar. Resize the widget by clicking and dragging the handles in either of the bottom corners.
| Create New Markup | |
| Show/Hide Table | |
| Toggle Split View | |
| Switch Workspace | |
| Refresh | |
| Import |

Select an option from the drop-down to filter markups by status.
Click a column header to re-sort the table by that field.
Click an ID # or double-click a row to view the full details and zoom to it on the map.
Click the  button to create a new markup.
If you do not see this button, you do not have permission to create markups.
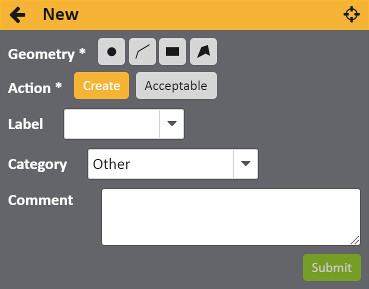
Click one of the  buttons, to draw a point, line, rectangle, or polygon respectively.
To redraw the geometry or change the geometry type, simply click the same button again or click another button to re-activate the draw tool.
Once you've drawn a geometry, click the  button in the upper-right to zoom the map back to its location.
You will have one or more options for creating markups (in the screenshot to the right, the user has 2 options: "Create" and "Acceptable"). The default action will be highlighted, click another action to change.
Between the Action and Comment sections, you may see a list of attributes. Fill out the values as appropriate. Required fields are denoted with an *.
Comments are a helpful way to communicate more information about a markup. Comments are denoted with an * when required.
Click the Submit button to save the markup.
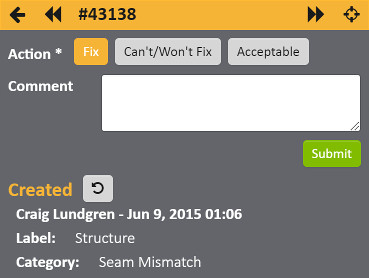
When you select a markup from the table, the widget will switch to the markup detail view.
If you have permision to change the status of markup, you will see actions at the top of the panel. Select an action, fill out the attributes and/or comment, and click Submit (see the Create Markup section for more information on actions and attributes).
If you do not see this section, you do not have permission to perform any actions.
This is a log of the complete history of the markup. The log lists the user, date/time, state, and attributes for each action.
Click the  button next to the most recent entry to undo the action. If you do not see this button you do not have permission to undo the action.
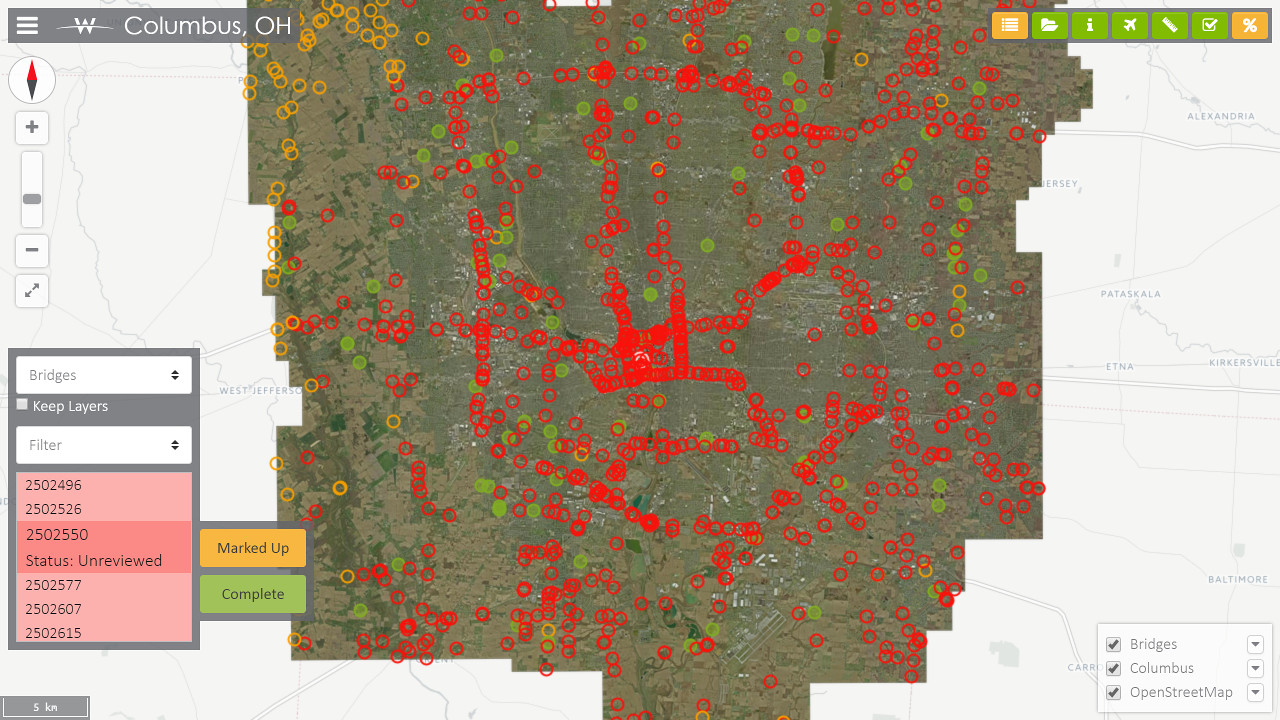
Progress layers are vector layers where each feature has a status attribute which is tracked in the SVC database across all user accounts. These layers are designed to provide mechanism for managing the review process over a large area. We publish common problem areas (such as bridges or seam lines) and other useful references (like tile grids) to aid reviewers.
Features are color-coded by their current status. Status changes are instantly reflected in all user sessions.
The progress layer tool is activated with the % button in the toolbar. If you do not see this button, no layers are available.